How to Assemble Your SlideBelts Ratchet Belt Mon, Apr 30, 2018
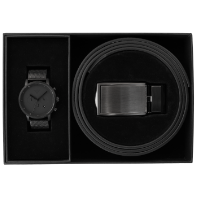
You just received your first SlideBelt and you are so excited that you "just can’t even" right now! Before you can sport your new favorite belt, you need to get it set up so it’s a perfect fit every time. No need to fret, because to set up your new SlideBelts ratchet belt is as easy as 1-2- 3.
.
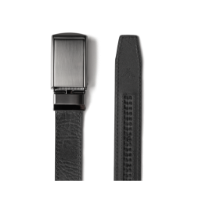
1. The first step is to cut your leather strap to the best fit. Using the size markings on the belly of the leather, find your current pants size and add two inches just to be safe. Using some kitchen scissors, make your cut. If it is still a little big, you can always cut more.
.
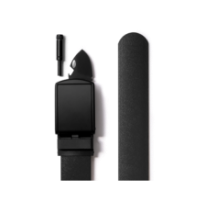
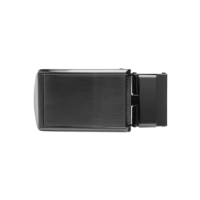
2. Now, the second step is to attach your buckle. On the underside of the buckle you will see a “trap door” with teeth on it. All you need to do is slide the cut end of the leather into this “trap door” and clamp it shut. This will take some force, as we want to be absolutely sure that the leather will stay attached to the buckle.
.
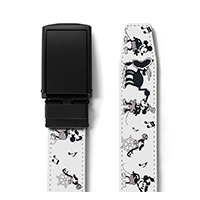
3. Lastly, you'll place the belt around your waist (or wherever, we don’t judge) and slide the tapered end of the leather through the opening on the front of the buckle. You will hear the SlideBelts dual-lever ratchet mechanism engage, tightening your belt in ¼” increments.
.
Now you have your first SlideBelt put together and ready, and we couldn’t be prouder! With everything that you already accomplished today, you might as well just go to bed. It’s probably not going to get any better than this. On a more serious note, if you want to cut the leather a bit shorter, just use SlideBelts' buckle removal tool to easily open that “trap door”. This makes swapping different buckles and straps even easier than before. Feel free to show SlideBelts your style on Instagram by tagging @SlideBelts or using #SlideBelts. Slide On, my friends!
